Barnet in north London will probably admit it is not very famous for landmarks in British history. Even today, it is a normal urban part of London like so many other boroughs. However, on the 14th April 1471, it was the location of a battle which had consequences for who would next wear the Royal Crown. It was also a battle which generals should pay attention to if they want to know how to lose a battle.
The conflict arose between two powerful people of the time. On one side was the king, Edward IV and on the opposing side was Richard Neville, the Earl of Warwick. They had, in the past, been both friends and comrades-in-arms when they fought together to unseat Henry VI. However, they began to disagree with each other and soon fell out. Warwick, who was one of the most powerful barons in the land, swapped sides, so to speak and raised an army to free Henry Vi from his imprisonment in the Tower of London and restore him to the throne.
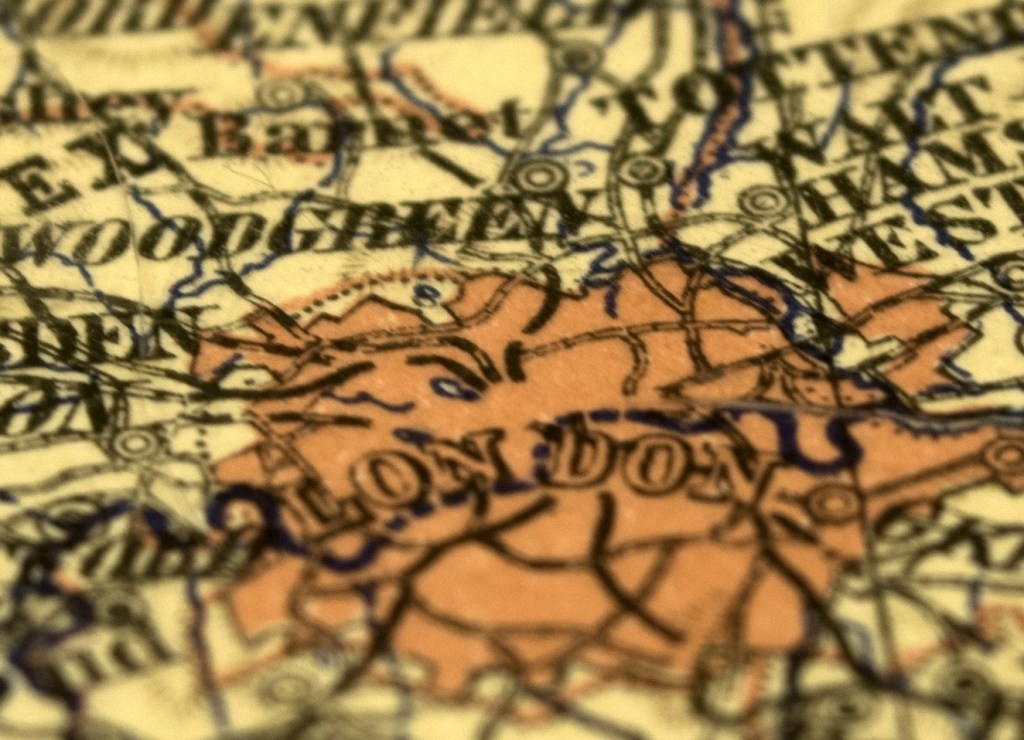
Old London Map – Barnet is Top Centre
Edward, of course, had no intention of allowing this to happen and so both armies headed for a confrontation at Barnet. There then followed a series of errors on both sides, but which eventually favoured Edward. Warwick and his army arrived first. By the time Edward’s forces arrived it was dark. He deployed his troops but because of the dark, they ended up closer to Warwick’s lines than they intended. But, it was an error which was going to benefit Edward.
Warwick’s plan was to bombard Edward’s forces at night. But, because Edward was now much closer than anticipated, most of the bombardment literally went over their heads. Early the next morning, a dense fog had descended over the proposed field of battle. It became difficult to make anything out. Warwick had deployed his troops into three sections; left, centre and right. Because of the limited visibility, the left section first mistook the centre for the enemy. They soon changed their mind but instead of believing it was the enemy, they now thought they had sighted deserters from their own columns. The effect was the same; they attacked each other.
By the time they realised their mistake, Warwick’s side had suffered many casualties. Unsurprisingly, Edward came out the victor. Warwick paid the ultimate price and was struck down during the battle. So, if you ever travel to Barnet, remember they do have a claim to fame.
